- This article is about Roy's appearance in Super Smash Bros. Melee. For the character in other contexts, see Roy; for information about the character of whom Roy is a clone, see Marth.
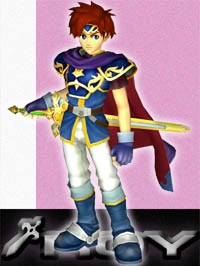
Roy (ロイ, Roy) is a secret character in Super Smash Bros. Melee. Roy is a clone of Marth, with all of their moves having the same animations and most having similar functioning, although they do also have their differences in their fighting styles (primarily in the location of their sweet and sourspots). Like Marth, he is a hidden character, making Roy the only clone of an unlockable character.
Roy is currently ranked 20th on the tier list, in the F tier. Roy's upsides include a good approach due to one of the best SHFFLs in the game, as well as a good grab game, and among the best reaches in the game. However, Roy's flaws are significant, including poor flexibility in his comboing game, attacks that are difficult to properly land, generally possessing significantly laggy attacks, possessing few moves that can KO and only one of which (forward smash) that is an adequate finisher, and among the worst recoveries in the game while being a light character that is heavily susceptible to combos; as a result, Roy has significant KOing problems while being easy to KO himself, leading to numerous matchups hard countering him, especially against those who are higher-tiered than him.
How to unlock
- Clear Classic or Adventure Mode with Marth.
- Play 900 VS. mode matches.
Roy is fought on Temple, with the track Fire Emblem playing.
Attributes
Overall, Roy does not fall into any specific archetype of characters; while having a slew of powerful attacks, Roy himself is rather nimble, with a relatively fast dash, a good dash dance and a very high falling speed. However, Roy has a relatively poor air speed. A combination of a fast falling speed and a low traction gives Roy a decent wavedash.
Among Roy's primary strengths is his overall power in most of his ground based attacks. Roy's forward smash is a fast attack and is his primary KO move. Additionally, Roy has a powerful but laggy down smash and an up smash with multi-hit properties, decent knockback, and, when tipped, spike properties, though the lattermost property is rather situational. Roy's specials are also powerful; his Flare Blade is a deadly edge-guard tactic, almost guaranteeing a OHKO if fully or almost fully charged, his Double-Edge Dance naturally combos into itself and can act as a reliable finisher, and his Counter varies in power against other attacks. Against smash attacks, Roy's Counter can quickly become his most powerful move; its pseudo-semi-spike properties also makes it useful when the opponent's back is to the ledge.
Roy also has a decent ground-based approach. Despite his only average wavedash, Roy still has a disjointed hitbox with his Sword of Seals, as well as a rather fast dash. Additionally, a combination of low-lag, fast aerials and a very high falling speed gives Roy a useful SHFFL. Roy's SHFFL is among the best in the game due to its extreme speed, and it is potentially faster and stronger than even Marth's. Roy's down tilt also sends opponents directly upward, with decent hitstun, giving Roy a very good method to start combos. Additionally, while Roy's wavedash is not as long as Marth's, it can still aid his approach, aided by his disjointed hitbox and long grab range. As a result of his approach, Roy's reach is one of the best in Melee, with only Marth having a superior reach.
Roy's grab game is also good. Roy has the second highest grab range among characters who do not have extended grabs (such as Link), behind only Marth in this regard. His throws can easily chain into each other, as their low knockback and Roy's high grab range allow him to decently tech chase and chain grab. His up throw is also the second strongest in the game and can chain grab other fast fallers. Roy's grab game comprises a good deal of his edge-guard game. A common tactic is to force opponents off the stage with a down or forward throw and immediately intercept their recovery with a forward smash or Flare Blade.
Roy's primary flaw is his disjointed hitboxes. Unlike Marth, who can safely attack opponents from a distance, Roy must go into close proximity with the opponent to deliver strong damage and knockback, as the sweetspot on his sword is closer to the hilt than tip. While attacks can become incredibly powerful at this close of a range, this causes Roy to become very vulnerable, especially against characters with powerful close range attacks or grabs, such as Fox, Falco or Mewtwo. While Counter can potentially mitigate against physical attacks, it requires particularly good reads from the player to avoid punishment, and the attack is completely ineffective against grabs. Roy's sourspot is also weak compared to Marth's; while Marth still has some KOing potential in his sourspotted attacks, Roy's sourspotted attacks have very poor knockback and damage in comparison.
As a result of this very close sweetspot, Roy himself lacks a particularly reliable KO move. With the exception of his forward smash and potentially his down smash, Roy has few options to quickly KO, and even these two attacks need to connect in close ranges in order for them to have any reasonable KOing power. Further compounding Roy's problems with KOing are his aerials; even when sweetspotted, none of these aerials can reliably KO under 200%, they require good setups in order to properly connect, and none of them can easily inflict damage in the first place. Roy also lacks any quick KO options. While he has two meteor smashes (the third hit of his "up" Double Edge Dance and his down air) and one spike (his tipped up smash), all three are highly situational, requiring particularly lucky or skilled setups in order to properly connect. Coupled with poor off-stage options as a result of high-lag aerials that are all of high risk off the edge and a poor recovery, Roy is almost completely dependent on attempting to rack up damage with short combos, culminating in a reliance on wavesmashing and edge-guarding to garner KOs.
Roy also has poor comboing ability, in stark contrast with Marth. Roy has slightly below-average air speed like Marth, but Roy's sweetspot once again hurts him. Roy cannot move fast enough in the air to hit with the hilt of his blade, causing primarily sourspotted attacks, resulting in low hitstun and hitlag attacks, hurting Roy's comboing game. Roy himself, however, is easy to combo; like other fast falling characters, his high falling speed harms him by making him extremely vulnerable to chain-throws and potentially even the space animal slayer. Even with fast falling speed, Roy's vertical survivability from the upper blast line is average due to either his lighter weight than characters such as Captain Falcon or much slower falling speed than characters like Falco, despite him being slightly lighter than Roy.
Like Marth, Roy also has a non-stellar recovery, though his faster falling speed and higher gravity make it far worse than Marth's and one of the worst in the game; adding to this, his high falling speed makes him extremely vulnerable to edge-guarding, as well as being easy to gimp. While Roy's Blazer is slightly more effective than Marth's Dolphin Slash, due to its greater horizontal distance, multi-hit properties that can aggravate edge-guarders, and its ability to be controlled to an extent, Roy still has high ending lag in his Blazer. Additionally, while Roy can still use Double Edge Dance to recover horizontally, it is not as effective as Marth's Dancing Blade due to his higher falling speed.
Differences from Marth
Roy is overall a considerably less effective character than Marth. All of his sweetspots are placed at the hilt of his blade, making it hard for him to space, and his down aerial's spike is a meteor smash hitbox that is difficult to hit with. Many of his attacks are slightly slower and his KO potential is much worse. Additionally, his wavedash and moonwalk are both shorter than Marth's, resulting in him being less mobile.
However, Roy does have some advantages. His up smash is hits multiple times and can spike, making it more reliable than Marth's, and Flare Blade is much stronger than Shield Breaker, being a one-hit KO when fully charged. Additionally, unlike Dolphin Slash, Blazer has multi-hit properties and can one-hit KO most lightweight fighters, like Mewtwo and Jigglypuff.
Aesthetics
- Some of Roy's attacks have the flame effect.
- Roy's idle animation differs from Marth's.
- Roy's taunt is different.
Attributes
- Roy is shorter than Marth. This shortens his hurtbox, making him less easy to hit, but also reduces the range in his attacks.
- Roy's sweetspot is placed at the hilt of his blade, meaning he fights at close range in order to be most efficient. Roy's sweetspot is larger than Marth's, but Marth can space the tipper sweetspot of his sword for maximum safety and damage.
- Roy jumps one frame later than Marth. Not only does this mean catching opponents by surprise with aerials is slightly harder for Roy, but it also makes his wavedash slightly worse than that of Marth.
- Overall, Roy's sourspot does far less knockback and damage than Marth's, and his sweetspots do somewhere in between the knockback and damage of Marth's sourspot and sweetspot.
- Roy's dash speed is slower and his dash dance window is smaller.
- Roy jumps lower than Marth.
- Roy's falling speed is significantly higher, causing him to have less vertical knockback than Marth, despite Marth remaining heavier than Roy, and makes his SHFFL faster than Marth's.
- Roy's increased falling speed makes him much easier to combo, worsens his recovery, and is usually unable to go off-stage for edge-guards or gimps, hindering his ability to close out stocks at low percentages.
- Almost all of Roy's moves have hitboxes that come out slower, remain out for less frames, or stay out for the same period as Marth's but with slower animation speed (leading to unfortunate hitbox timing on moves like his dash attack, three of his aerials and Blazer). All of these moves contain far more lag at the end than Marth's.
- Roy is lighter than Marth (NTSC 87 → 85). It hinders his survivability slightly but makes him less susceptible to waveshine followups from Fox as he is knocked down by the shine.
Ground attacks
- Roy's jab does not have a second hit and is slower, making it worse for edge-guarding characters with linear recoveries, such as Fox or Falco.
- Roy's forward tilt and up tilt are significantly weaker than Marth's.
- Down tilt: Instead of having horizontal knockback, Roy's down tilt has vertical knockback, which leads to many combo setups, especially on fast fallers. In exchange, this makes Roy's down tilt much less useful for neutral resets against the rest of the cast.
- Dash attack: Animation is much slower with no change in hitbox timings leading the terrible hitbox placement.
- Forward smash: Sweetspot is much larger.
- Roy's forward smash is slightly slower and all its hitboxes are weaker than Marth's, with the sourspot being significant and the sweetspot being slight.
- Up smash: Has multi-hit properties and lacks sourspots at the sides, making it easier to hit with. It can also spike with the tip on the 2nd, 3rd, and 4th hits.
- Roy's up smash is weaker than Marth's tipped up smash.
Aerial attacks
- All of Roy's aerials are weaker than Marth's in both knockback and damage.
- Roy overall suffers more landing lag (15/7 → 20/10(neutral aerial) 15/7 → 20/10(forward aerial) 15/7 → 18/9(up aerial)).
- Neutral aerial: Has more startup on both hits and less duration on the second hit (6-7(hit 1) 15-21(hit 2) → 7-8(hit 1) 17-20(hit 2)).
- Roy's neutral aerial has a sourspot on the second hit.
- Down aerial: Is very difficult to sweetspot with, and its sweetspot is a meteor smash instead of a spike, meaning it can be meteor cancelled.
- Up aerial: Has a longer hitbox duration (5-8 → 5-10).
- Back aerial: Has more startup and less duration (7-11 → 8-10) with no difference in animation leading to unfortunate hitbox placement.
Grabs and throws
- Roy's grab range is shorter, but is still one of the farthest reaching grabs in the game.
- All of Roy's throws deal 1% more damage than Marth's.
- Roy's throws do slightly more knockback. The knockback increase of Roy's throws hinders his ability to tech chase and chain grab.
- Down throw: Launches opponents at a slightly higher angle.
- Down throw sends foes behind Roy, harming his combo ability.
Special moves
- Flare Blade is much stronger than Marth's Shield Breaker and can charge for a longer period.
- Flare Blade deals 10% recoil damage to Roy when fully charged. It also deals less shield damage unless fully charged.
- While charging Flare Blade, Roy glows white and the screen shakes violently.
- First, second, third (inputted up and down), and fourth hits (inputted up) of the Double-Edge Dance inflict more damage than Dancing Blade, and the fourth hit forwards inflicts more knockback.
- Double-Edge Dance's third hit upwards can meteor smash, similar to Dancing Blade's third hit downwards.
- Double-Edge Dance's third hit inputted forward deals less damage than Dancing Blade's version.
- Double-Edge Dance has sourspots, unlike the Dancing Blade.
- Unusually, despite having higher base knockback, Double-Edge Dance's third hit inputted forwards actually has smaller knockback scaling than that of the Dancing Blade. This overall makes it weaker than the Dancing Blade's version at higher percentages, while also making it more difficult to combo together with the fourth hit at lower percentages.
- Double-Edge Dance has normal priority as opposed to transcendent priority, allowing it to cancel projectiles.
- Blazer has multiple hits, can be angled forwards for better horizontal recovery, and has slightly less landing lag than Dolphin Slash. Blazer's first hit also has very strong set knockback which can kill floaty characters like Jigglypuff and Peach at 0% on certain stages.
- Blazer is significantly weaker (it has Set Knockback), is slightly slower than Dolphin Slash, and covers slightly less vertical distance, due to Roy's shorter height.
- Roy's Counter does 1.5x the damage and knockback of the move countered, as opposed to Marth's dealing a flat 7%, making it a powerful KO move when used against strong attacks (such as Falcon Punch, Warlock Punch, or a charged Smash attack).
- Roy's Counter window comes out slightly slower and lasts much shorter than Marth's.
- Roy's Counter pose is slightly different. A successful counter uses the flame effect.
Moveset
Notes:
- All of Roy's attacks are at their strongest when they hit with the center of the Sword of Seals; if an attack hits with both the sourspot and sweetspot hitboxes, then the sweetspot usually takes priority but sometimes sourspots do occur.
- For simplicity; if, for example, Roy's blade does 6% damage while the tip does 4%, and the attack has no other hitboxes, it is written as 6%/4%.
| Image | Name | Damage | Description | ||
|---|---|---|---|---|---|
| Neutral attack | 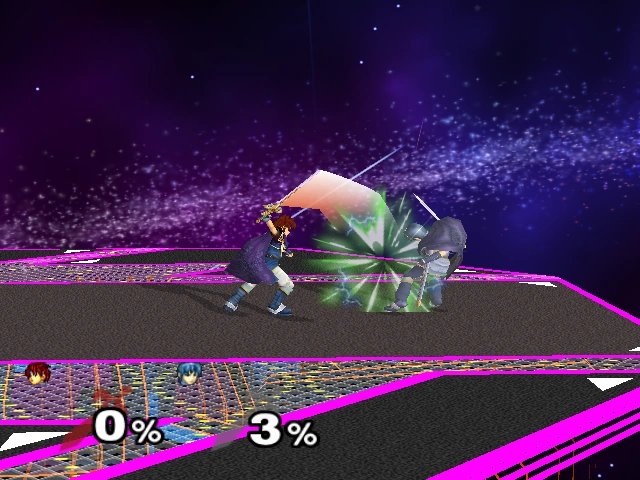 |
5% (blade), 3% (tip), 6% (body) | Roy does an upward slash with his sword. | ||
| Forward tilt | 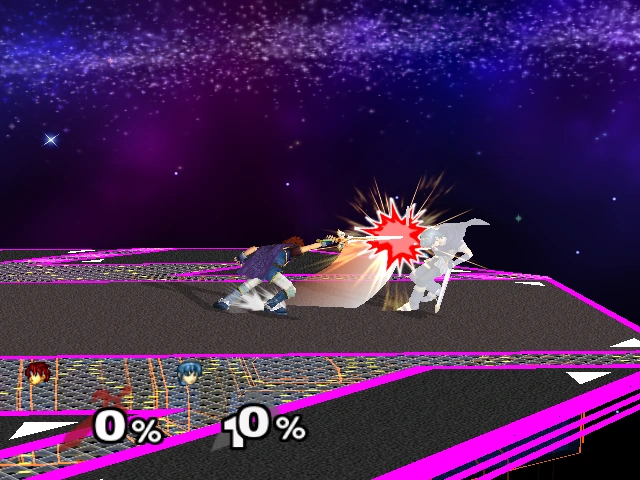 |
10% (blade), 7% (tip), 12% (body) | Roy leans forward and swings his sword diagonally forward. | ||
| Up tilt | 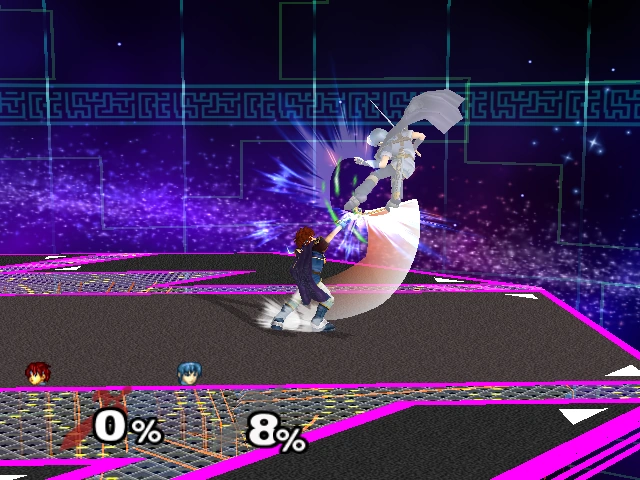 |
8% (blade & arm), 6% (tip), 10% (body) | Roy swings his sword in an upward arc. | ||
| Down tilt | 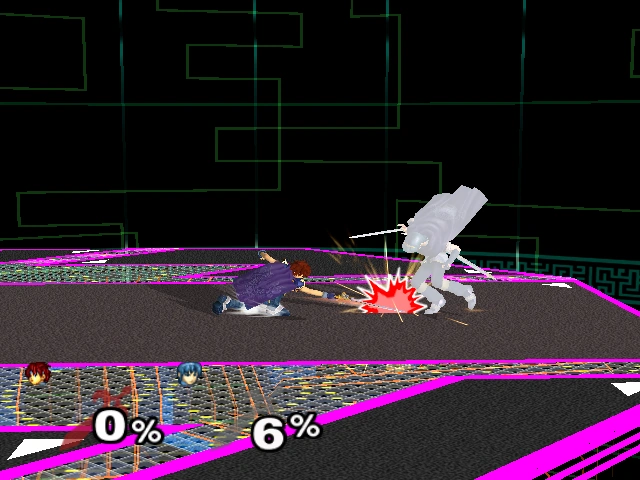 |
10% (blade), 6% (tip), 12% (body) | Roy crouches and stabs his sword forward. | ||
| Dash attack | 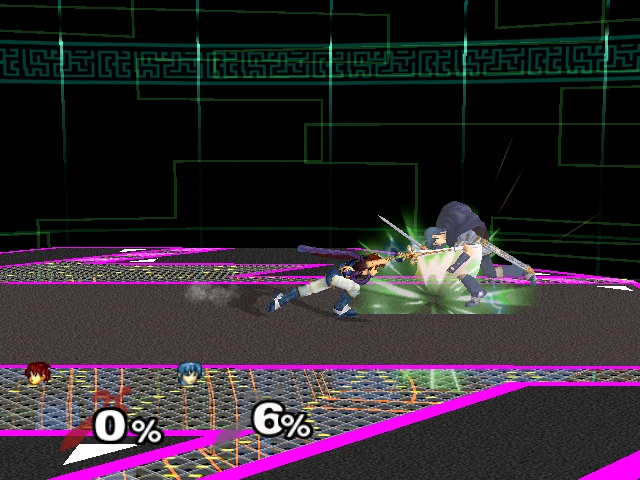 |
12%/6% | Roy slides forward and attacks horizontally with his sword. Because this move has a slower animation overall than Marth's but the hitboxes are active for the same frames, the hitboxes for this attack appears before Roy even swings his sword and ends before it reaches halfway through the animation. | ||
| Forward smash | 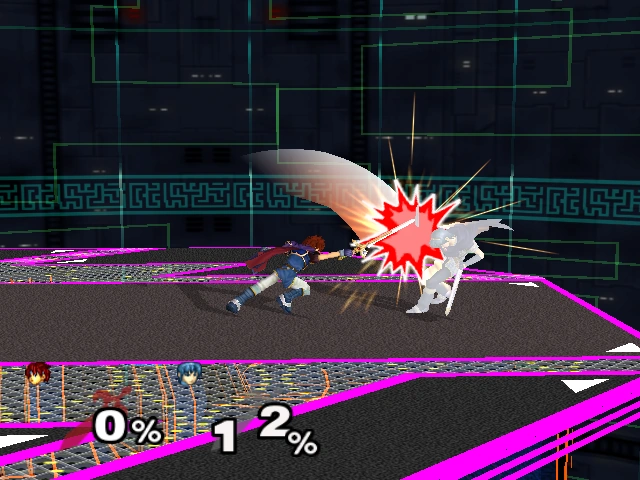 |
20%/12% | Roy performs a forward downward swing with his sword. | ||
| Up smash | 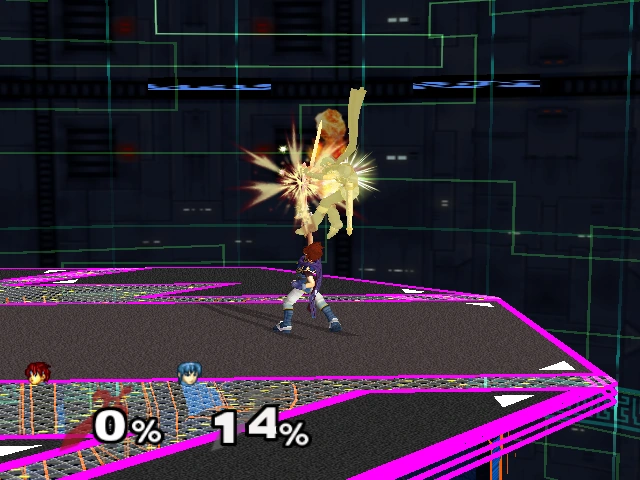 |
Flame Sword | 2% (hits 1-4), 10% (hit 5) | Roy stabs his sword upwards. This attack hits multiple times and spikes the opponent when they come in contact at the tip of the sword. When all hits connect, it deals decent knockback. | |
| Down smash |  |
21%/14% (front), 16%/8% (back) | Two sword sweep attacks that first hits in front and then behind Roy. Deals less damage if the opponent hits the tip of Roy's sword. | ||
| Neutral aerial | 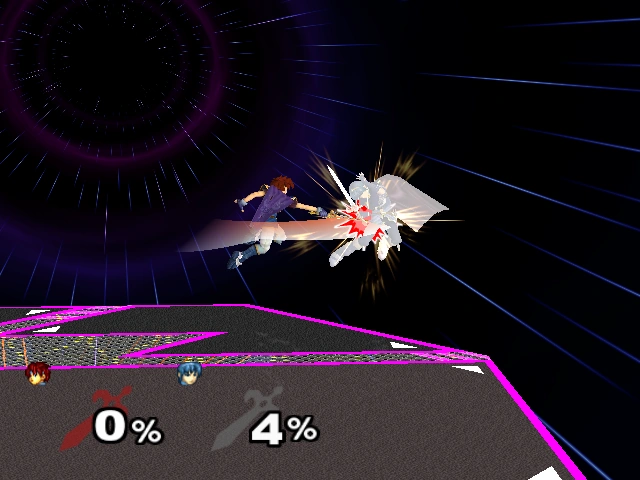 |
4% (hit 1), 8%/5% (hit 2) | Roy swings his sword twice horizontally in the air. | ||
| Forward aerial | 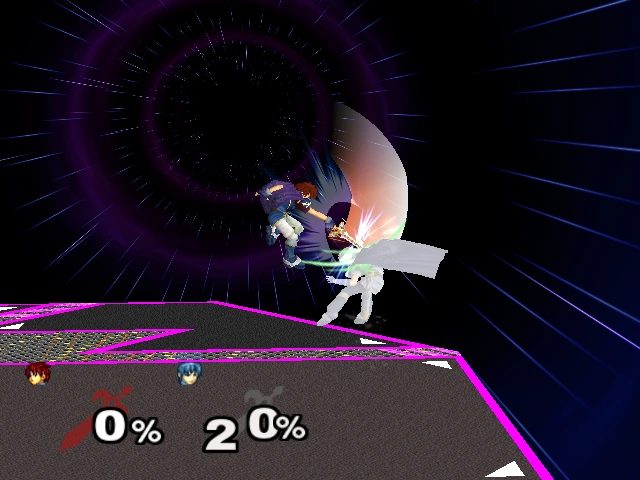 |
8%/5% | Roy swings his sword downward directly forward. | ||
| Back aerial | 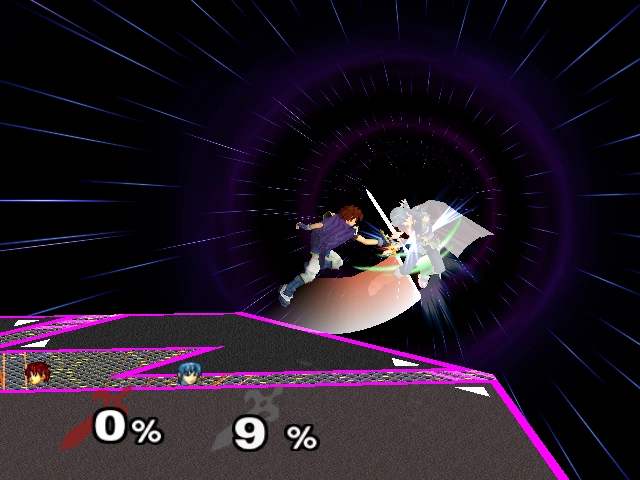 |
9%/6% | Roy turns the other way in the air and does an upward swing with his sword. Using this attack will turn Roy the other direction in midair. | ||
| Up aerial | 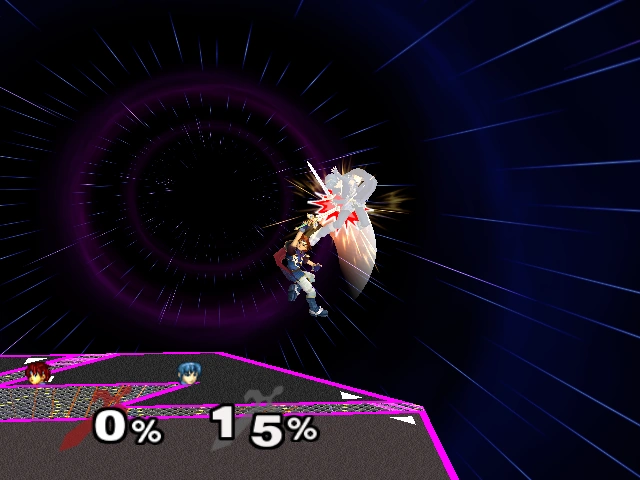 |
9%/6% | Roy swings his sword in an upward are and does a backflip. | ||
| Down aerial | 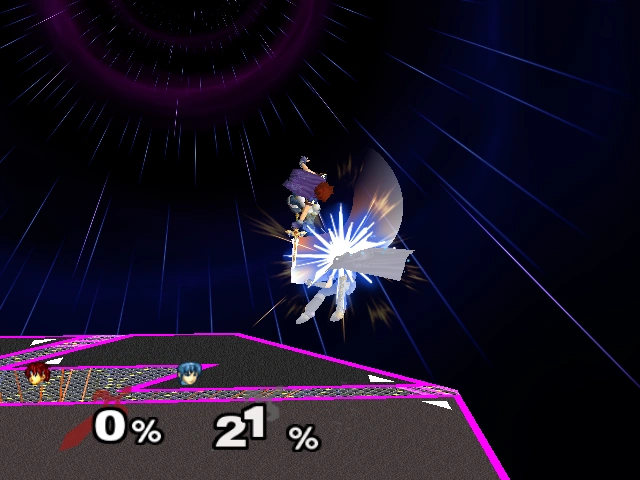 |
9%/6% | Roy swings his sword below him in a downward arc. There is a small sweetspot located at Roy’s right arm and left shoulder that meteor smashes the opponent. | ||
| Grab |  |
— | |||
| Pummel | 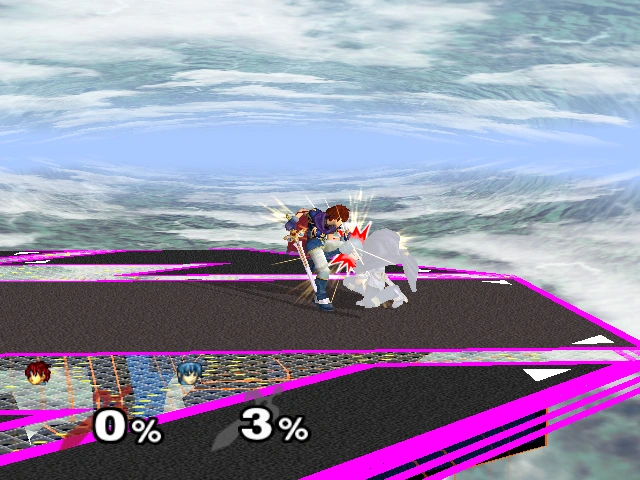 |
3% | Roy jabs his knee at the opponent. | ||
| Forward throw | 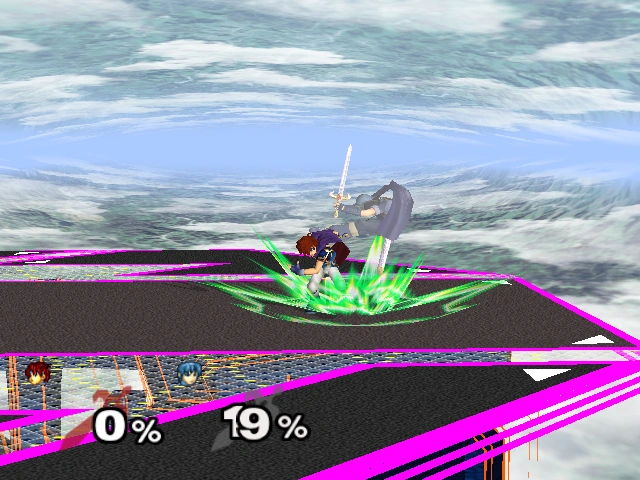 |
5% | Roy trips the opponent with his leg and pushes them away. | ||
| Back throw | 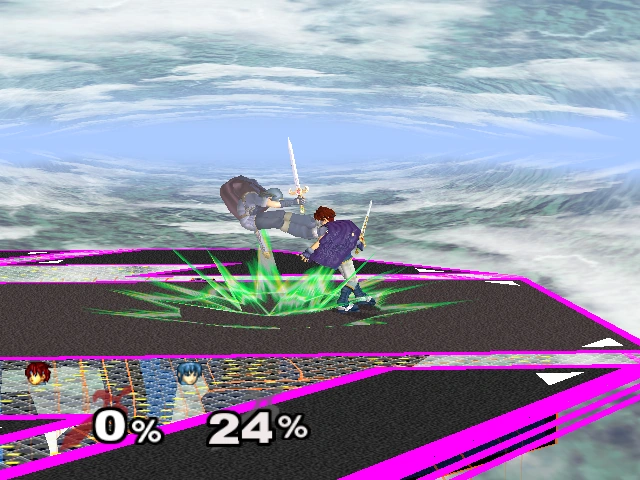 |
5% | Roy throws the opponent behind him. | ||
| Up throw | 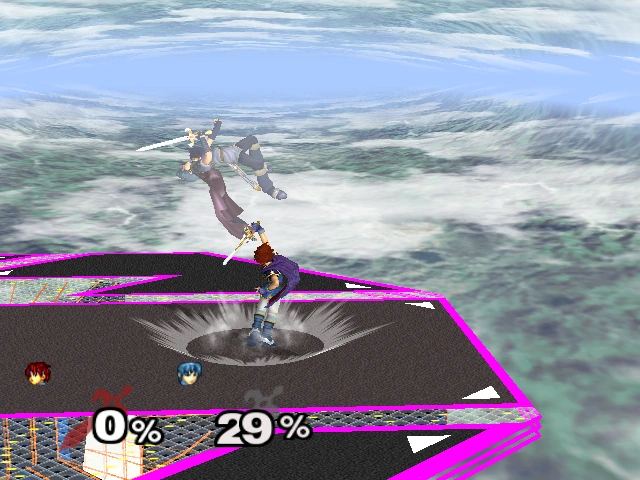 |
5% | Roy throws the opponent into the air with his right arm. | ||
| Down throw | 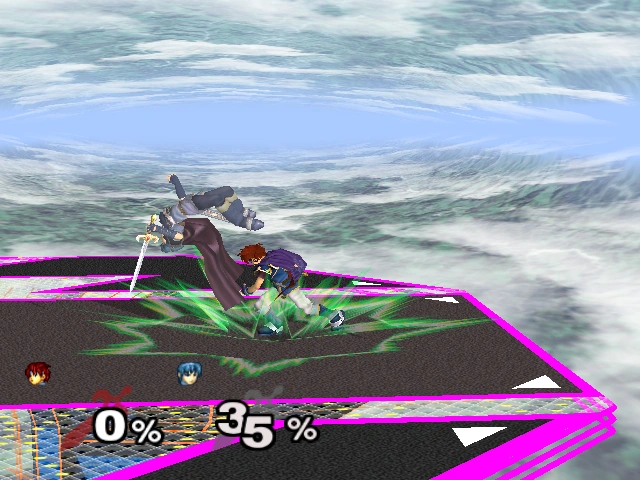 |
6% | Roy tosses the opponent onto the ground. | ||
| Floor attack (front) | 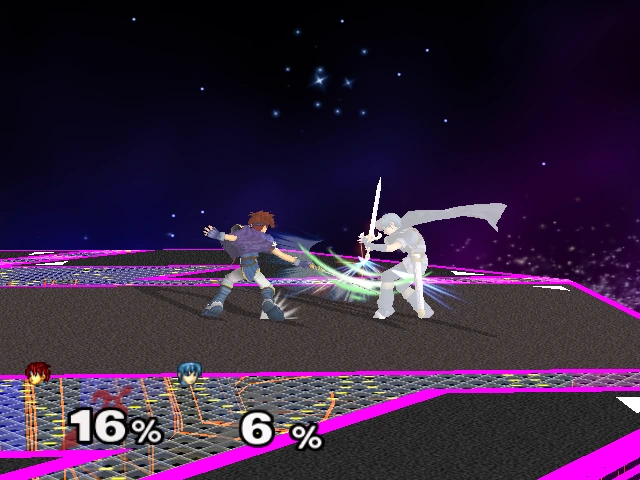 |
6% | Roy spins around on the ground, attacking with his sword. | ||
| Floor attack (back) | 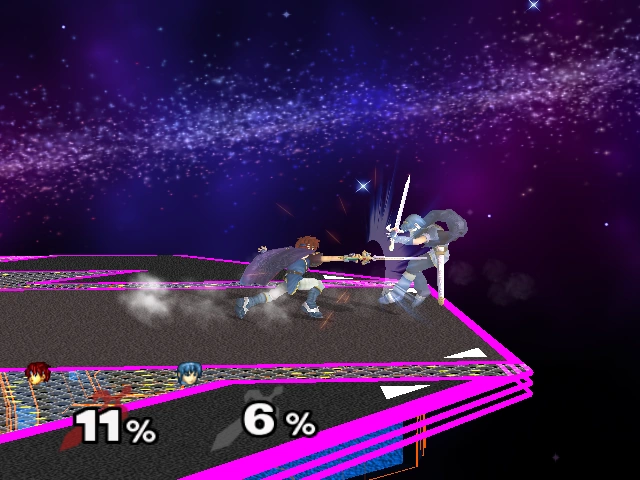 |
6% | Roy turns in one direction to perform a quick sword stab and then turns the other direction to perform a horizontal sword slash. | ||
| Edge attack (fast) | 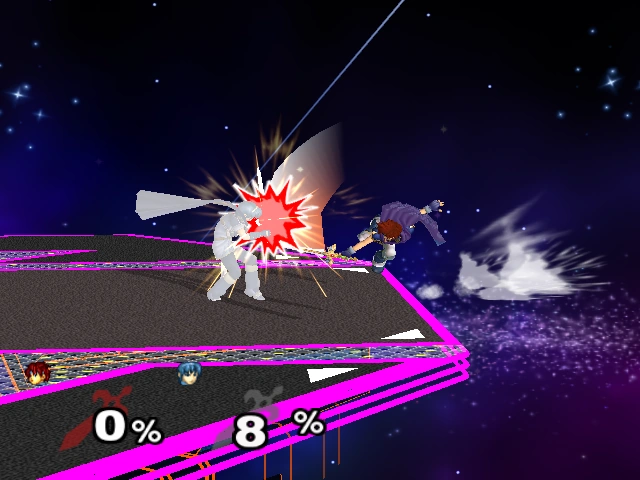 |
8% (sword), 6% (hilt) | Roy climbs back onto the stage and attacks with a downward sword slash. | ||
| Edge attack (slow) | 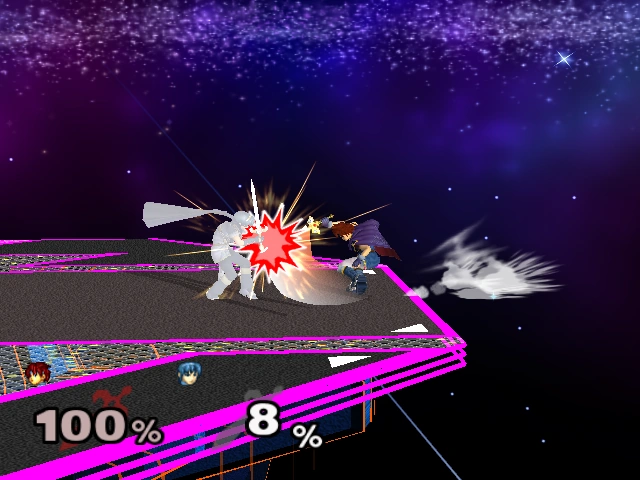 |
8% (sword), 6% (hilt) | Roy slowly climbs onto the stage and does an upward slash with his sword. | ||
| Neutral special | 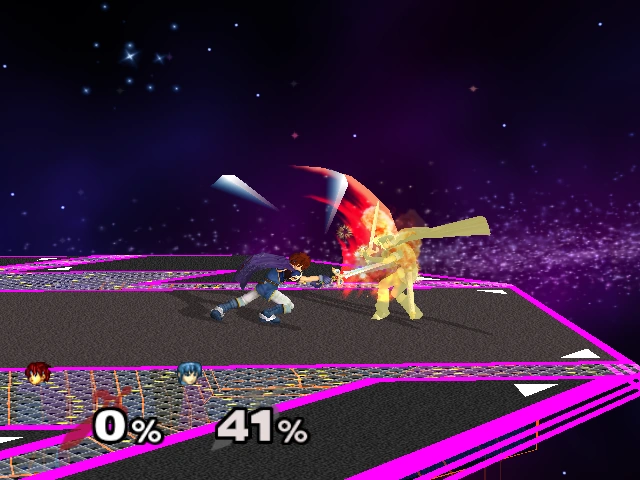 |
Flare Blade | 6-41%, 50% (fully charged) | Roy holds his sword over his head performs a fiery downward sword swing. This attack can be charged to increase its power through seven different stages. When this move is fully charged, Roy slams his sword on the ground, creating a large explosion that can one-hit KO any character in the game but suffers 10% recoil damage as a side effect. | |
| Side special | 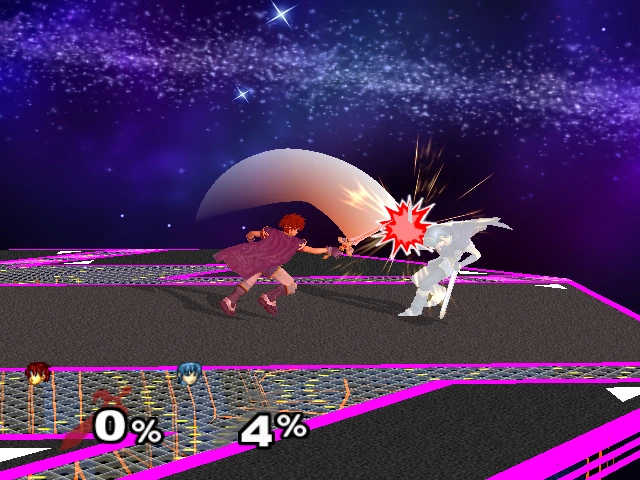 |
Double-Edge Dance | Varies | Roy attacks with a four-hit combo with his sword. Holding the control stick will change the height of the attack, but this only works for hits 2, 3, and 4 for up, and hits 3 and 4 for down. | |
| Up special |  |
Blazer | 5%/3% (hit 1), 2%/1% (hits 2-4), 1% (hits 5-7) | Roy soars upward with his sword engulfed in flames. Holding left or right on the control stick will adjust the angle of the move at the cost of some vertical distance. The first hit of this move deals great knockback and is capable of KOing floaty characters on certain stages. | |
| Down special |  |
Counter | 1.5x the damage of the countered move (min 1%) | Roy twirls his sword into reverse grip and holds it over his left forearm while bending down and performs a defensive stance to counter an incoming attack. The power of the counter depends on the attack being countered. | |
| Hit | Damage | Description |
|---|---|---|
| First Hit (Medium) | 5%/4% | A downward sword swing that deals little knockback. |
| Second Hit (High) | 6%/4% | An upward sword swing that produces small vertical knockback. |
| Second Hit (Medium) | 6%/4% | A sword thrust forward that knocks the opponent into the air. |
| Third Hit (High) | Clean: 10%/8% Late: 7%/5% |
Another downward sword swing that deals weak knockback. Can meteor smash at the beginning of the animation. |
| Third Hit (Medium) | 10%/8% | A horizontal sword swing forward that deals moderate knockback. |
| Third Hit (Low) | 3%/5% | A downward sword stab that deals flame damage and hits multiple times. |
| Fourth Hit (High) | 13%/10% | A leaping sword slash downwards that deals flame damage. |
| Fourth Hit (Medium) | 13%/10% | A spinning downward sword slash that deals flame damage. |
| Fourth Hit (Low) | 3% (hit 1-4), 5% (hit 5) | Leans down and does four quick sword strikes forward. Each hit deals flame damage. |
Taunt
- Leans back and holds his sword behind him in an attack position, shouting "Hee-ya!"
Crowd cheer
| English | Japanese | |
|---|---|---|
| Cheer | ||
| Description | Roy's-Our-Boy! | Roy! Roy! Roy! |
| Voices | Group chant | Male |
Victory poses
Template:Victory/SSBM
Matchups
| Avg. | |||||||||||||||||||||||||||
Gameplay
As with all low tiers, Roy's gameplay emphasizes his strengths and attempts to make his weaknesses as unnoticeable as possible. This means a heavy reliance on his Double-Edge Dance, grab, Down Tilt and Forward Smash.
Double-Edge Dance
Roy's Side B, the Double-Edge Dance, is one of his most used moves, with good reason. It is fast, can combo with itself, variable, and has decent knockback on the third hit, and good knockback on the fourth.
Generally the DED is used out of a dash dance, and is therefore increased in usefulness by Roy's great dash dance.
Good ideas with DED include only using the first hit to knock people out of the air; since it is disjointed, Roy can (relatively easily) stop approachers.
Against CCers or SG's, >B >B VB puts most characters out of range of the shield grab, and knocks crouch cancellers over.
Roy can combo Fast fallers into the third strong hit at higher percents (and others at lower %'s) by using >B ΛB >B. This is useful when having trouble landing a Forward Smash.
>B (>B/ΛB) ΛB will Meteor Smash the opponent. It can be used in attempt to Meteor Smash someone off the level, or to set up for a tech chase. Neither work very often.
If the player is committed to using the 4th hit of the DED, which shouldn't be very often, typically ΛB is the way to go. It has as much knockback as the last >B, and will shield poke if the opponent's head is sticking above his shield just a little.
VB and >B as the fourth hits are useful against CCers who want to take all the damage and if a little extra range is needed-respectively.
The >B, >B, ΛB, VB combo will almost always hit the opponent, first by slamming him down with the ΛB then following up with the VB's multiple hits. The whole combo may deal at least 40% of damage with the option and possibility of finishing off with a Down Smash resulting in more damage.
Throws
Down
- Down Throw + Side Tilt - a basic combo good for spacing at low %s.
- Down Throw + Double-Edge Dance Combo - a self-explanatory combo good at mid percents.
- Down Throw + Side Smash - a decent combo where it can sweetspot at low-mid percents, and cannot be done at higher percents.
- Down Throw + turn around + Down Tilt - can be DI'd, but good for spacing.
Up
- Note: The first four of these work usually only at 0%-20%
- Up Throw + Up Smash - at low percents, fast fallers can hardly escape this combo.
- Up Throw + Up Tilt- only works on heavier characters at near 0%s, but safer.
- Up Throw + Double-Edge Dance (up variation)- self-explanatory.
- Up Throw + Up Special Move - self-explanatory.
- Up Throw + Up Aerial - at mid percents, may also work with Neutral Aerial.
- Up Throw + Forward Aerial+ Forward smash- works at mid percents good to get some damage on your opponent or KO.
Forward
- Forward Throw + Double-Edge Dance - self-explanatory.
- Forward Throw + Dash Attack - can be escaped at the lower or higher percents.
Back
- Back Throw + Forward Tilt - only reliable at mid to lower percents.
- Back Throw + Double-Edge Dance - self-explanatory.
- Back Throw + Dash Attack - self-explanatory.
In 1P-Mode
Classic Mode
Unusually, Roy does not appear at all in Classic Mode when unlocked, neither as an ally, nor as an opponent, making him the only fighter who never appears at all; the reason for this is unknown. Despite this, Roy does have an introduction image for the "Now Loading..." screen between matches programmed into the disc.
Adventure Mode
The Adventure Mode makes no concessions to Roy when he is unlocked. Like Marth, however, music associated with him can play in the Underground Maze stage.
All-Star Mode
In All-Star Mode, Roy and his allies are fought on Final Destination, as Roy was not designated an official home stage. When fought on the stage, the track Fire Emblem plays instead of the standard music.
Event Matches
Roy is featured in the following event matches:
- Event 46: Fire Emblem Pride: The player chooses any character and must defeat Marth and Roy in a three-stock match on the Temple stage.
- Event 49: All-Star Match Deluxe: Roy is the fifth opponent fought in this series of staged battles. The player's character battles him on Temple with a stock of two while Roy has one. With a timer of four minutes, the player must defeat him and the other five characters one-by-one with the overall time and damage: Dr. Mario, Falco, Pichu, Young Link and Ganondorf.
Japanese Translations
Roy speaks Japanese when in the Results Screen, or using Counter, like fellow Fire Emblem character Marth.
Roy's four victory lines are:
- "苦しい戦いだった。", which translates to "It was a difficult fight."
- "僕 は 負けない。", which translates to "I won't lose!"
- "真の戦いは、これからだ。", which translates to "The true battle, is soon to begin."
- "守るべきもののために、負けられない!", which translates to "For those whom I must protect, I will not lose!".
When using Counter, he either says:
- "今だ!", which translates to "Now!"
- "そこ!", which translates to "There!"
Trophy descriptions
In addition to the normal trophy about Roy as a character, there are two trophies about him as a fighter, unlocked by completing the Adventure and All-Star modes respectively with Roy on any difficulty.
- Roy
- The son of the lord of Pharae Principality, Roy was studying in Ostia when the Kingdom of Bern invaded League of Lycia. His father fell ill at this time, so Roy assumed leadership of Pharae's armies. After his fateful meeting with the Princess Guinevere, his destiny became inextricably linked with the fate of the entire continent.
- Fire Emblem [Japan Only]
- Roy (Smash Red)
- While Roy's moves are well balanced, he's a little on the slow side, and doesn't excel at midair combat. His blade, the Sword of Seals, gives him excellent reach, and makes his Double-Edge Dance slightly different than Marth's Dancing Blade. When it's fully charged, Roy's destructive Flare Blade delivers an instant KO.
- B: Flare Blade
- Smash B: Double-Edge Dance
- Roy (Smash Blue)
- Roy's blade is different than Marth's; he does the most damage hitting with the center of his sword. So, a fearless advance into the arms of his foe is Roy's best bet. Blazer is a bit slower than Marth's Dolphin Slash, but it's still a mighty attack that sets anyone it strikes aflame. Roy's attack after using Counter differs slightly from Marth's.
")
")
")
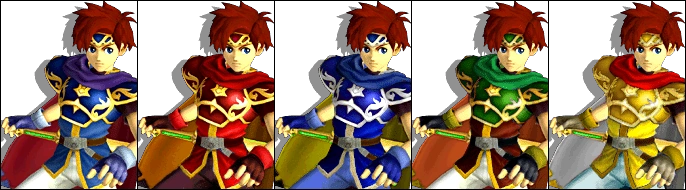
Alternate Costumes
Roy's alternate costumes in Super Smash Bros. Melee.
Trivia
- Roy is the only clone of an unlockable character.
- Roy does not feature a sheath during gameplay like Marth does. This is odd because the sheath is present in all three of his trophies and victory poses. It is presumable that Roy's taunt was intended for him to flip the sword around and then sheath during his stance. This would make for a more appropriate taunt, considering the sword was almost always sheathed during Fire Emblem: The Binding Blade.
- Roy and Marth are the only two characters in Melee that speak Japanese, regardless of language settings.
- Roy and Marth both use their sword for every attack except their pummels and throws.
- Roy and Marth are the only playable characters in Melee that don't have a stage representing their universe, though hacked data shows that one was planned.
- Roy does not appear in Classic Mode, neither as an ally nor an opponent.
- Roy's Up Smash is the only Up Smash in Super Smash Bros. history that is a spike, but only when sweetspotted.
- Roy, Mr. Game & Watch, Donkey Kong, and Pichu are the only characters in Melee to have an attack that damages themselves.
- Kirby can also damage himself when he swallows Roy and Pichu and uses their moves.
- Roy, Marth, and Peach are the only characters in Melee with a special move that can counter.
- Marth and Roy are the only characters in Melee who can turn around in midair, by using their Back Aerial.
- Roy's first appearance was in Melee. His game, Fire Emblem: The Binding Blade, was released four months later.
- All of Roy's sourspotted attacks make a punch/kick sound effect instead of a slashing sound effect.
| ||||||||
| Characters | Marth (Melee · Brawl · 3DS/Wii U · Ultimate) Roy (Melee · 3DS/Wii U · Ultimate) Ike (Brawl · 3DS/Wii U · Ultimate) Robin (3DS/Wii U · Ultimate) Lucina (3DS/Wii U · Ultimate) Corrin (3DS/Wii U · Ultimate) Chrom (Ultimate) Byleth (Ultimate) | |
|---|---|---|
| Side Characters | Assist Trophies | Lyn · Black Knight · Tiki |
| Mii Fighter Costumes | Chrom · Black Knight | |
| Background characters | Claude von Riegan · Dimitri Alexandre Blaiddyd · Edelgard von Hresvelg · Rhea | |
| Others | Anna · Sothis | |
| Stages | Castle Siege · Arena Ferox · Coliseum · Garreg Mach Monastery | |
| Item | Killing Edge | |
| Music | List of Music (Fire Emblem series) | |
| Collectibles | Trophies | Melee Trophies · Brawl Trophies · 3DS Trophies · Wii U Trophies |
| Stickers | List of Stickers (Fire Emblem series) | |
| Spirits | List of spirits (Fire Emblem series) | |
| Masterpieces | Fire Emblem: Shadow Dragon and the Blade of Light · Fire Emblem: Mystery of the Emblem | |