- This article is about Bowser's appearance in Super Smash Bros. Melee. For the character in other contexts, see Bowser.
| “ | A mighty foe that trades speed for pure power. | ” |
| —Description from Melee's manual. | ||
Bowser (クッパ, Koopa) is a character in Super Smash Bros. Melee and is available from the start. Announced at E3 2001, a stronger form of Bowser also appears as the "final" boss in Adventure Mode. His design is based on his appearance in Super Mario 64.
Bowser is currently ranked 25th in Melee's tier list, located in the G tier. This is due to his large size and weight, which make him extremely easy to combo. His moves are also sluggish, and although he does have a projectile, it does not help him against foe's projectiles, particularly Fox or Falco's lasers.
Attributes
Bowser acts as the game's primary "slow and powerful" fighter; other equally heavy and powerful characters, such as Donkey Kong and Ganondorf, are of considerably higher speed than Bowser in a variety of ways. Bowser has an average falling speed, and a below-average air speed, as well as high traction and a surprisingly fast dashing speed. These characteristics, however, also give Bowser a short and slow wavedash.
One of Bowser's greatest strengths is his raw damage output and KO potential. Many of his attacks are the strongest of their type, and their damage output can reach perhaps ludicrous levels; his side smash, for instance, deals 24% when not charged, and his down tilt has the second highest damage output in the game for a tilt (behind Ganondorf's incredibly slow up tilt), dealing a potential 22% if both hits connect. As a result of this high damage output, Bowser's KOing options are possibly the most numerous in the game, with his up and down tilts, all of his smash attacks, forward, back, and up aerials, Koopa Klaw back throw, Whirling Fortress, and even his jab becoming potentials for garnering KOs. In addition to their high power, Bowser's attacks also have very large hitboxes, leading to a rather large range.
In addition to this, Bowser has a surprisingly high amount of tricks that can be used to aggravate opponents. The set knockback of his down throw can allow for chainthrowing on fast fallers, while his up air, when L-cancelled and set up after a short hop, can infinite fast-fallers. One of Bowser's most versatile moves takes form as his up special move, Whirling Fortress. In addition to a potential 32% it can cause, it is amongst the most flexible moves in the game, acting as a combo breaker due to its paltry 5 start-up frames, a potential edge-guard, a very strong out-of-shield option, and a dangerous substitute to Bowser's poor defensive roll.
Bowser's extreme power that sacrifices speed, however, is what causes him to be considered a poor character. Bowser is arguably the slowest character in Melee, as he possesses abysmal mobility and among the slowest attacks. With poor air speed, the slowest walking speed, the slowest jump in the game (an 8-frame jump squat) and a short wavedash (that is also among the slowest), Bowser's terrible mobility, with combination of his very large hurtbox and his high weight, makes him, by far, the easiest character in the game to combo. Due to a metagame that favours fast characters such as Fox and Marth over slower characters such as Bowser, these faster characters could perform combos, juggles, and chain grabs with very little chance for Bowser to escape. This is exacerbated by a poor defensive game, with a small shield that invites shield stabbing, as well as slow defensive rolls and sidesteps. He also has no options against projectiles, due to his massive hurtbox and lack of an effective projectile or reflector of his own. Finally, Bowser's attacks have extremely sluggish frame data, and are extremely easy to punish. Despite his extreme power, Bowser could (ironically) have trouble KOing opponents due to the extreme lag in his moves, making him rely on proper reads to land his finishers.
Bowser's approach in both the air and the ground are poor, and in both cases, they're considered amongst the worst in the game. On the ground, a slow dash attack, slow attacks in general, and his short, situational wavedash that is further hampered by his extremely long jump animation prevent Bowser from effectively approaching the opponent without setting himself up for counterattacks. The lack of a long-ranged projectile also hampers this, as Fire Breath is among the worst projectiles in the game; with high startup and ending lag, short reach for a projectile, and gradual loss of power makes the move completely situational. His aerial approach is of equally poor quality, due to his aforementioned slow jumping speed and high-lag aerials. This leads to a poor SHFFL that is, ironically, very easy to perform.
While Bowser does have high endurance potential due to being the heaviest character in the game, it is merely average overall; his aforementioned ease of being comboed can allow the opponent to put Bowser into KO range extremely quickly. His slow, predictable, and easily gimped recovery also hampers his survivability; despite Whirling Fortress being a good out-of-shield move, it is very poor as a recovery move. Like fellow heavyweight Donkey Kong, Bowser's recovery grants terrible vertical distance (though it is rather effective horizontally). This makes meteor smashes and spikes extremely dangerous to Bowser, as characters with reliable spikes (such as Falco and Marth) can instantly gimp his recovery. Bowser's recovery is further hampered by his poor air speed and his lack of alternate options to recover or ways to slow down his falling speed; as a result, Bowser is very simple to edge-guard.
Bowser's lack of low-knockback moves, coupled with high ending lag, also lend themselves to a near-nonexistent combo game; most of his combos require precise timing and L-cancelling, and even then, these combos are limited to two or three hits, with the last hit often not being one that can lead to a KO. Bowser's slow speed on both the ground and in the air also prevent him from easily "pursuing" foes after they've been sent back, leading to opponents to easily recovering from hits and being able to counter Bowser's further attempts at comboing.
Moveset
| Image | Name | Damage | Description | ||
|---|---|---|---|---|---|
| Neutral attack |  |
5% | Bowser swipes his claws at the opponent twice. | ||
| 6% | |||||
| Forward tilt | ↗ |  |
13% (fist), 15% (arm) | Bowser extends one arm and performs a backhanded punch. Deals good knockback for a tilt; in fact, it is the most powerful forward tilt in the game. This attack can be angled up or down. | |
| → | 12% (fist), 13% (arm), 14% (body) | ||||
| ↘ | 11% (fist), 13% (arm) | ||||
| Up tilt |  |
13% | Bowser swings his arm over his head. Deals good knockback, which is useful for setting up combos. Second most powerful up tilt in the game. | ||
| Down tilt |  |
13% (hit 1), 10% (hit 2) | Bowser slashes along the ground with both his claws. The first hit doesn't have much knockback, and the second hit is fairly slow. Both his deal up to ≈22.1% when fresh. | ||
| Dash attack |  |
11% (clean), 8% (late) | Bowser charges forward at the opponent. | ||
| Forward smash |  |
24% | Bowser rears back for a short moment and hits incredibly hard with his head. Very high damage and knockback, being by far the strongest smash attack in the game, though it suffers from a lot of lag in general. | ||
| Up smash |  |
20% (leap), 12% (landing) | Bowser jumps upward, hitting enemies with his spikes on his shell. There is a smaller hitbox inside his shell that does 17% damage, but it rarely connects due to overlapping the bigger hitbox. A powerful attack with a rather long-lasting hitbox. Bowser himself is intangible the moment he jumps off the ground. | ||
| Down smash |  |
2% (hits 1-6), 10% (hit 7) | Bowser retreats into his shell and spins around hitting the opponent multiple times with his shell. Can combo into itself on fast-falling characters. All hits deal up to ≈20.2% when fresh. | ||
| Neutral aerial |  |
13% | Bowser spins around in his shell. Low knockback, but long duration. | ||
| Forward aerial |  |
14% (left claw), 12% (left arm), 11% (right shoulder) | Bowser performs downward strike with his left claw. Deals good knockback and is a good edge-guarding option. | ||
| Back aerial |  |
13% (clean), 9% (late) | Bowser thrusts his shell backwards that launches enemies at a semi-spike trajectory. | ||
| Up aerial |  |
17% | Bowser hits upward hard with his head. One of Bowser's slower moves, but deals very high knockback and is the strongest up aerial and also one of the most powerful aerials in the game. | ||
| Down aerial |  |
3% (hits 1-9), 2% (landing) | Bowser spins downwards, hitting enemies with the spikes on his shell. When Bowser lands during the middle of the animation, he emits a shockwave that pushes back nearby opponents. | ||
| Grab |  |
— | |||
| Pummel |  |
3% | Bowser headbutts the foe. | ||
| Forward throw | 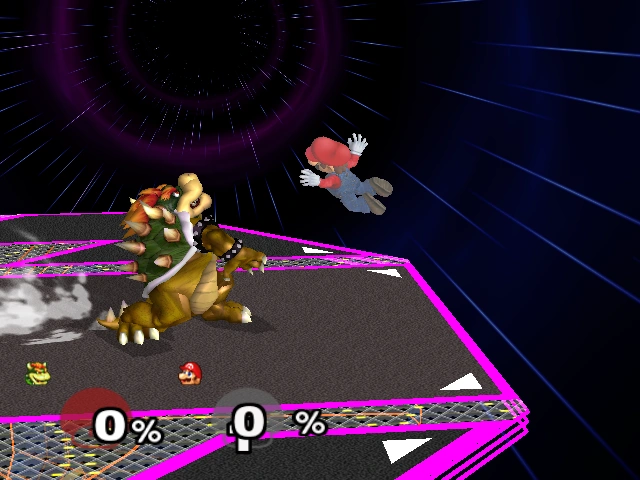 |
10% | Bowser throws the foe forward. Can act as a potential KO move at high percentages. | ||
| Back throw | 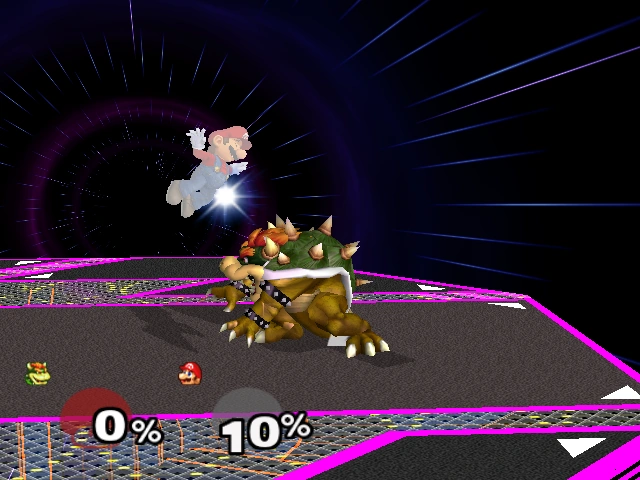 |
10% | Bowser throws the foe backwards. | ||
| Up throw | 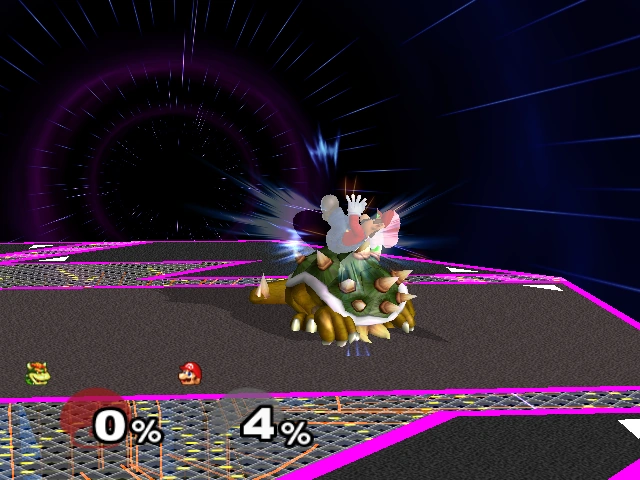 |
1% (hits 1-8), 2% (throw) | Bowser tosses the foe upwards, retreats into his shell, and spins, damaging the foe with his spikes. | ||
| Down throw | 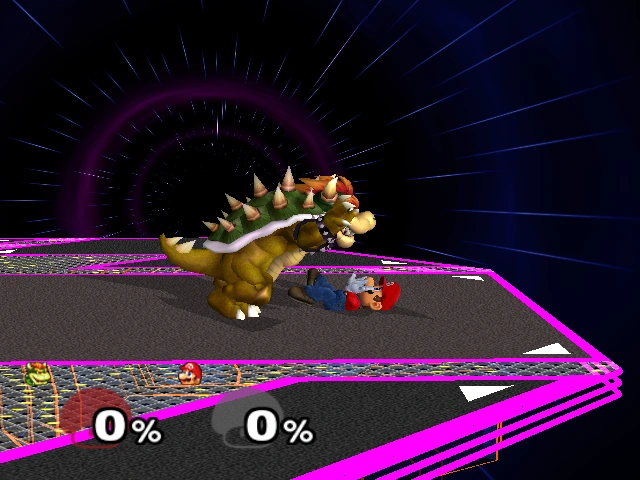 |
12% (hit 1), 0% (throw) | Bowser places the opponent on the floor and then body slams them. | ||
| Floor attack (front) |  |
6% | Bowser leaps forward to strike with his head, then back to kick behind, and finally gets up into standing position. | ||
| Floor attack (back) |  |
6% | Bowser gets up while swinging his right hand around. | ||
| Edge attack (fast) |  |
8% | Bowser quickly spins onto the stage while inside his shell, then retreats back a bit. | ||
| Edge attack (slow) |  |
10% | Bowser slowly climbs onto stage and delivers a quick claw swipe. | ||
| Neutral special | 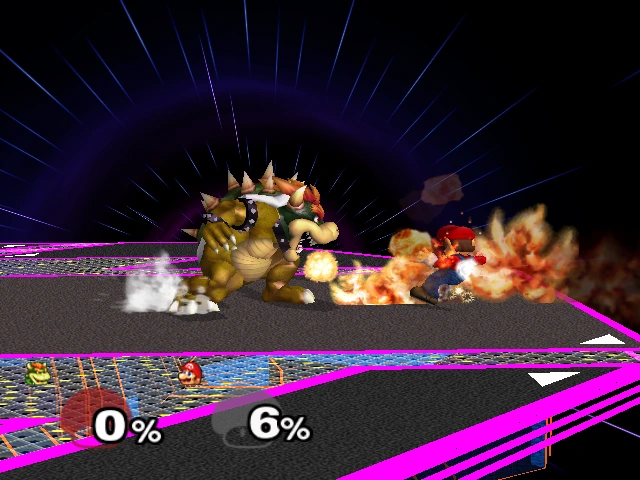 |
Fire Breath | 2% | Bowser lets out a stream of fire that weakens over time the longer the B button is held. | |
| Side special | 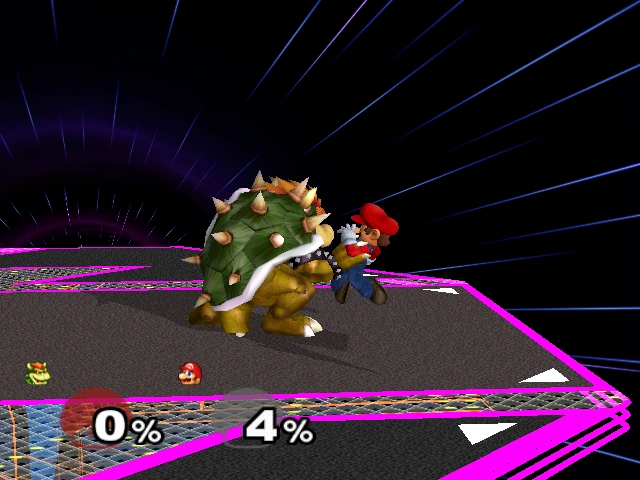 |
Koopa Klaw | 12%/10% (slash), 4% (bite capture), 3% (bite pummel), 15% (forward throw), 11% (back throw) | Bowser does a claw swipe that grabs a nearby opponent and launches any bystanders. Once Bowser grabs a foe, he will perform a quick bite attack and can perform one of the following: another bite attack that deals slightly less damage, a shoulder tackle that awards more damage, and a back throw that gives off more knockback. | |
| Up special | 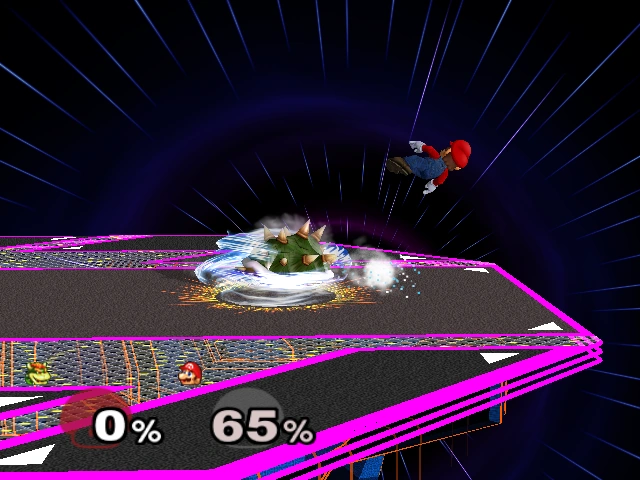 |
Whirling Fortress | Ground: 13% (clean), 5% (mid), 3% (late) Air: 10% (startup), 3% (loop early), 2% (loop late) |
Bowser ducks into his spiked shell and performs a spin attack. This move can be used to gain vertical height. | |
| Down special | 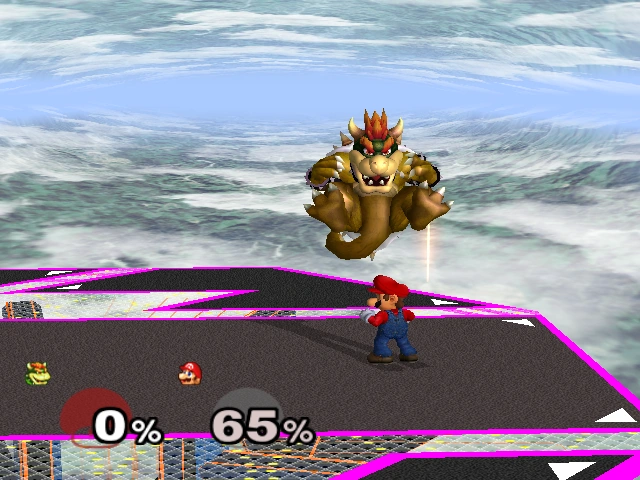 |
Bowser Bomb | 23% (drop), 8% (landing) | If used on the ground, Bowser jumps up into the air then plummets back down to the ground, damaging anyone who's in the way. If used in the air, the move functions the same, except there is no initial jump. The shockwave on the ground can damage nearby opponents. | |
Taunt
- Rears his head back and roars.
Idle pose
- Leans back and roars, exhaling steam from his mouth.
Crowd cheer
| English | Japanese | |
|---|---|---|
| Cheer | ||
| Description | Bow-ser! Bow-ser! | Kooo-pa! |
| Voices | Group chant | Group chant |
Victory poses
Template:Victory/SSBM
Matchups
| Avg. | |||||||||||||||||||||||||||
Regional differences
Bowser is one of the few characters who has a different name in the Japanese version of Melee. In the English version, his name is "Bowser", but in the aforementioned Japanese version, his name is "Koopa". The name "Koopa" comes from the fact that in the original Mario series, he evolved from a Koopa Troopa. Likewise, Giga Bowser's name in Japan was "Giga Koopa". All such changes of his name can be seen if the game's language is set to Japanese.
Bowser, in the PAL regions, also received a few changes; he was made 1 unit heavier in PAL regions, from 117 to 118, and errors concerning his down throw, such as its inability to hit Mr. Game & Watch and Jigglyuff, were corrected. The PAL region version of the game also had a bug fix for Bowser from the American 1.2 version: he could no longer "Flame Cancel" by landing during the ending frames of Fire Breath, his neutral special move.
In 1P-Mode
Classic Mode
In Classic Mode, Bowser can appear as an ordinary opponent, as an opponent in team battle alongside Mario, Peach, Zelda, or Mewtwo, as a giant opponent, as a metal opponent, or as an ally in a team and giant battle. In all appearances, he will appear on either Battlefield or Princess Peach's Castle. Unusually, if fought as a giant character, he will appear on Fountain of Dreams.
Adventure Mode
In Adventure Mode, Bowser acts as a final boss of sorts, fought on the last stage, Stage 12: Final Destination. In this appearance, he is larger than usual, and as a result, he is more resistant to knockback. When played on Very Easy and Easy difficulties, or if the player spent too much time in the Adventure Mode, then the game is concluded there. Classic Bowser's trophy falls off the stage, and the player's selected character celebrates with one of his or her Victory poses.
If the player, however, arrives at Stage 12: Final Destination on Normal difficulty or higher in less than 18 minutes, Bowser will appear with his black colour scheme instead of his ordinary green colour scheme. After he is KO'd and the ordinary cutscene is played, However, the eerie music continues where another cutscene shows the classic Bowser's trophy returning to Final Destination to face the player's character one last time. The trophy is then struck with lightning, and Bowser turns into Giga Bowser. Then Giga Bowser comes to life when he opens his mouth. As a last challenge for the player, they must defeat Giga Bowser in order to clear the Adventure Mode. After he is defeated, a cutscene shows Bowser's trophy falling off the stage again; this time, however, it breaks apart in which appears to be a "floor" in a pitch black background.
All-Star Mode
In All-Star Mode, Bowser and his allies are fought on Yoshi's Island, as the remaining Mario stages were already taken by the rest of the four characters in the cast. When fighting Bowser on Yoshi's Island, the stage will always play its alternate track, "Super Mario Bros. 3".
Event Matches
Bowser makes the following appearances in the following event matches:
- Event 1: Trouble King: Bowser is the first opponent of the event mode. The player plays as Mario, and Mario and Bowser have 2 stock each in an untimed match on the Battlefield stage. KO Bowser twice to win, which is an easy objective because Bowser is lighter than usual and has less competent AI.
- Event 10: All-Star Match 1: Bowser is the last of five opponents the player must fight in this series of staged battles. The player's character battles him on the Rainbow Cruise stage, and their character has 2 stock while Bowser has 1. With a timer of four minutes, the player must defeat him and the other four characters one-by-one with the overall time and life the player has: Mario, Donkey Kong, Yoshi, and Peach beforehand.
- Event 17: Bounty Hunters: In this original scenario, the player plays as Samus teamed up with Captain Falcon (with Friendly Fire turned off), and the shared opponent is Bowser on the Jungle Japes stage. With everyone receiving one stock and 2:00 as the time limit, the goal is to be the one to KO Bowser. The player fails if Captain Falcon delivers the finishing blow or if Bowser SDs.
- Event 19: Peach's Peril: A scenario designed in homage to the standard plot of traditional Super Mario games of Bowser being after Peach and Mario saving her. The player plays as Mario teamed with Peach, whose AI is set on walking to each end of the stage aimlessly, and they each have 1 stock while the enemy Bowser has infinite stock. Bowser is especially strong and durable in this match, and he will attack either of them in the area on the Final Destination stage. The objective is to last a full minute with both Mario and Peach surviving by the end, and high score is determined by how many times Mario can KO Bowser.
- Event 25: Gargantuans: A scenario designed in homage to old, campy monster movies like Godzilla and King Kong. On the Fourside stage, with unlimited time, the player plays as a giant-sized Bowser (as "Godzilla") with one stock against a giant-sized Donkey Kong (as "King Kong") with two stock. Two other characters on the match are a tiny Mario and a tiny Peach, who will be K.O.'d within seconds of the battle between the two main monsters.
- Event 42: Trouble King 2: This tough event takes place in Poké Floats. The player controls Luigi against a giant Bowser in an untimed match where the two of them have a stock of two each.
- Event 51: The Showdown: In the game's final Event Match, the player has to square off against Ganondorf, Mewtwo and Giga Bowser on a team. With no time limit, the player is tasked with defeat all three, and everyone is given three stocks.
Trophy descriptions
In addition to the normal trophy about Bowser as a character, there are two trophies about him as a fighter, which are unlocked by completing the Adventure and All-Star modes respectively with Bowser on any difficulty.
- Bowser
- Bowser has a long history of kidnapping Princess Peach to lure his nemesis, Mario, into traps. He leads an enormous group of mischievous creatures, not the least of which are his seven children. With outrageous strength, flammable breath, and more spikes than you can shake a Star Rod at, Bowser is a constant threat.
- Super Mario Bros. 10/85
- Bowser (Smash Red)
- In many ways, Bowser is the toughest character around. Not only does he have near-impervious hide, but his great mass makes him almost impossible to hurl offscreen. Of course, his weight also makes him rather slow to maneuver, so when facing him in battle, it's best to press your attack and not give him a chance to counter.
- B: Fire Breath
- Smash B: Koopa Klaw
- Bowser (Smash Blue)
- Bowser's Fire Breath strikes continuously, but it grows gradually smaller over time until it's barely smoldering. The Koopa Klaw rakes enemies at a distance and pulls nearby foes in close for a good gnawing. Bowser's Whirling Fortress moves laterally over the ground; it works in midair as a recovery. The Bowser Bomb is powerful and paves the way for more attacks.
- Up & B: Whirling Fortress
- Down & B: Bowser Bomb
.jpg "Bowser trophy (SSBM).jpg (240 KB)")
.jpg "Bowser smash trophy (SSBM).jpg (227 KB)")
.jpg "Bowser smash 2 trophy (SSBM).jpg (178 KB)")
Alternate Costumes
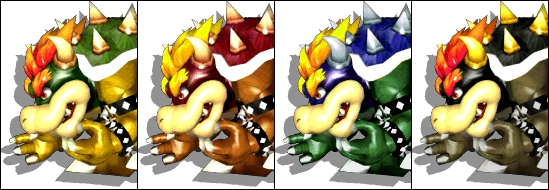
Bowser's alternate costumes in Super Smash Bros. Melee.
Trivia
- Bowser and Pichu are the only two characters in Melee to have no advantageous matchups.
- Bowser is the first starter villain.
| ||||||||